Senior Design Project - Fall 2023
Development of a Binder Jet Printer for Educational Use with K-12 Students
Scroll ↓
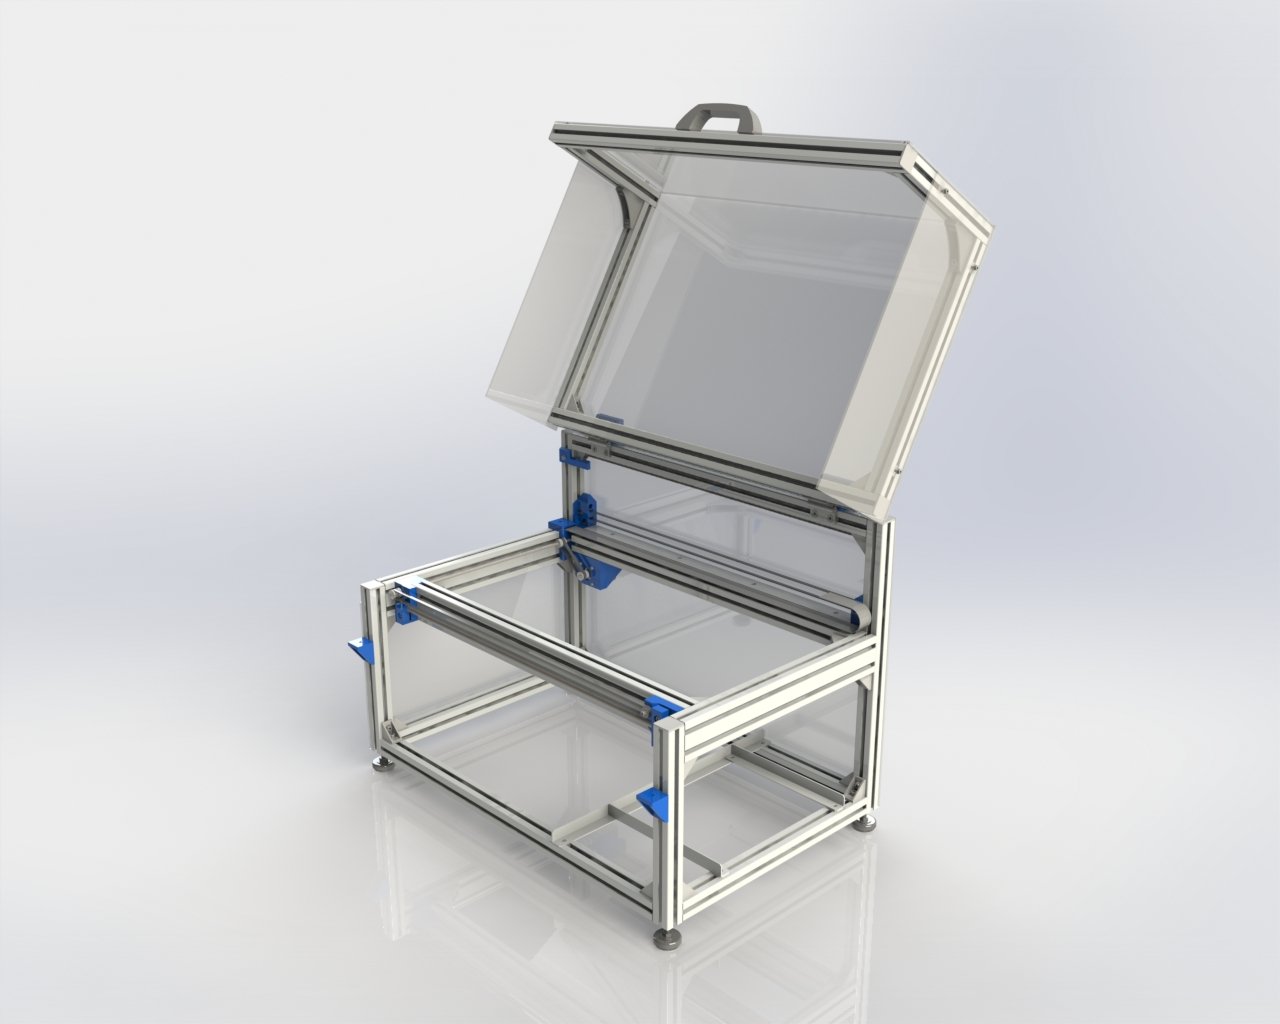
The design seen above was very complex. It featured parts that would need to be custom manufactured, countless hours of 3D prints, and small pieces that needed to be assembled precisely to ensure the success of the printer.
Due to the time constraint of the semester and the complexity of our design, our budget was cut in half in order to reserve a budget for future groups. With this smaller budget and short timeline, we were able to purchase the microcontrollers for our design, as well as the materials for the frame. As seen on the right, we were able to construct the frame of the full scale binder jet printer. As a team, we understood that a frame was not a sufficient education tool so, we pivoted to create a demo binder jet printer.
Full Scale Binder Jet Printer Progress

Binder Deposition

Powder Deposition
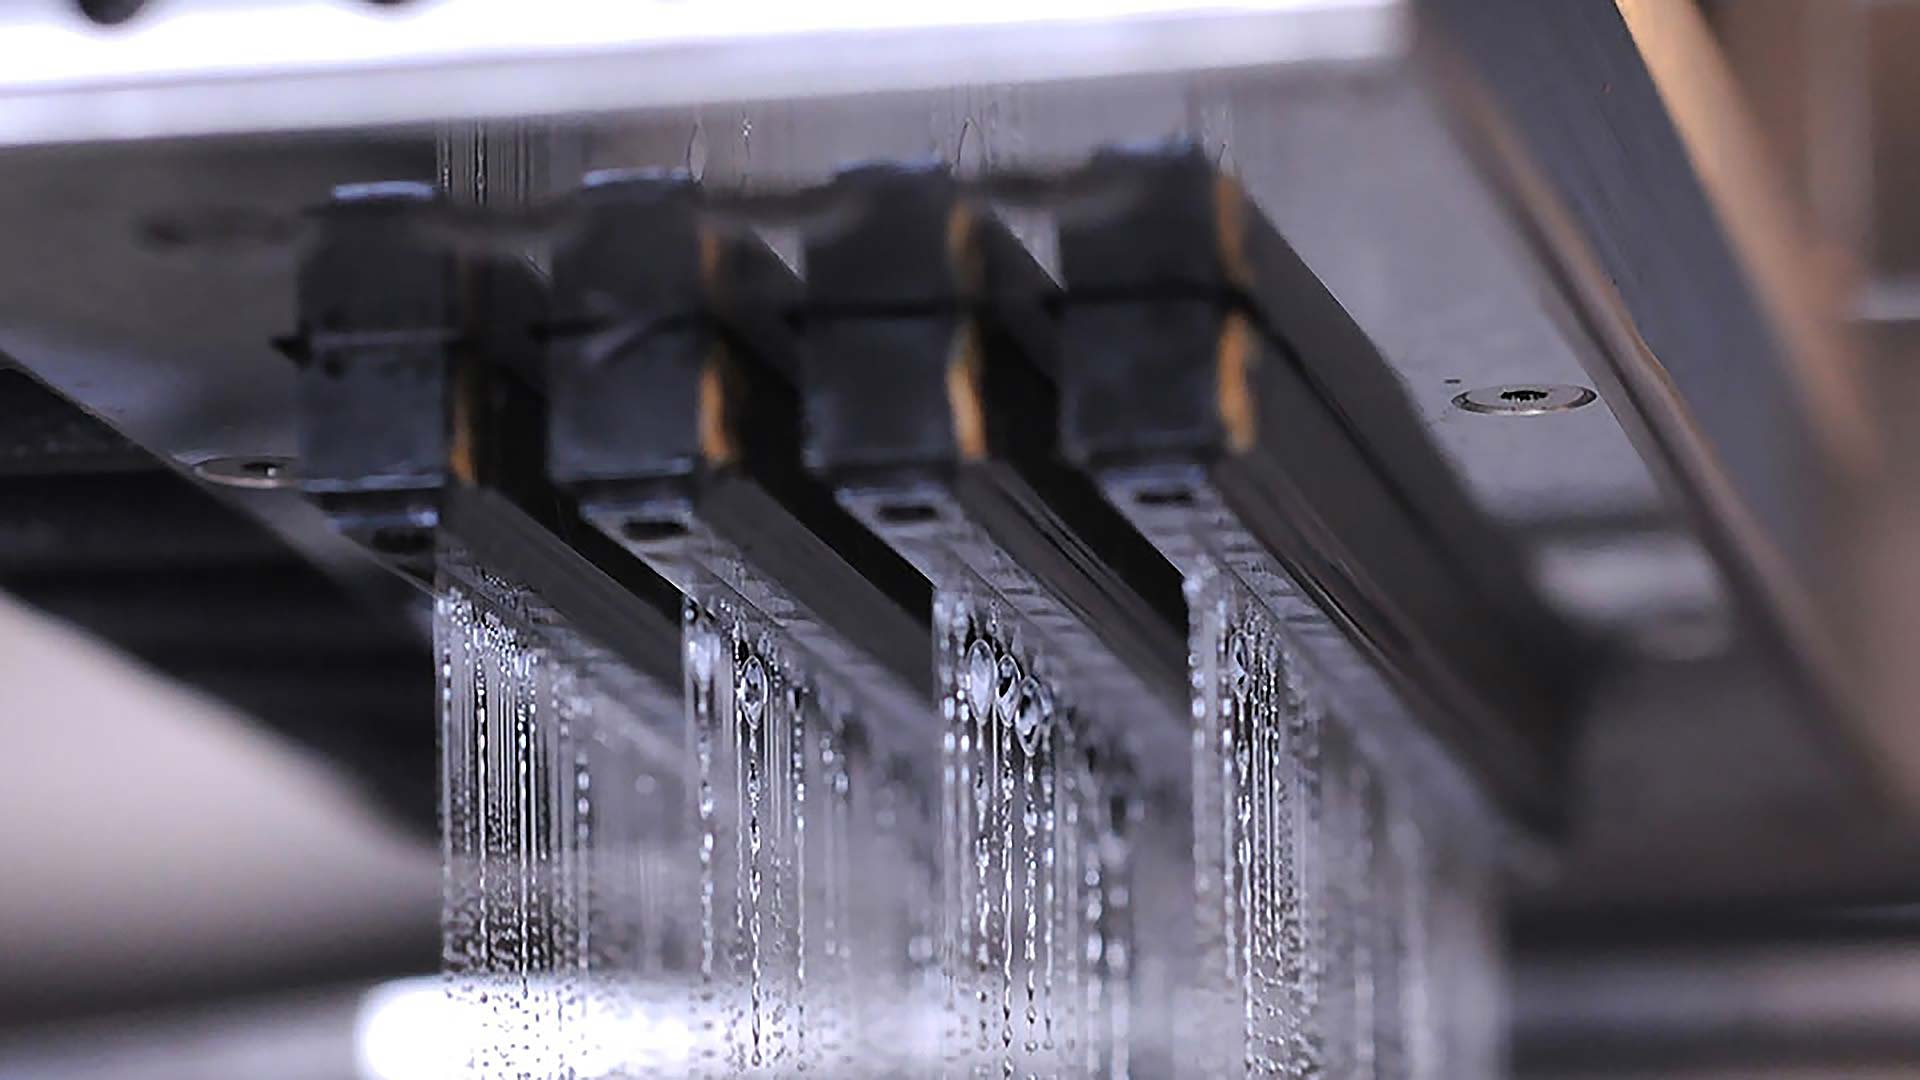
Binder Jet 3D Printer
We were tasked by our sponsor, Dr. Xiayun Zhao, and her lab, ZXY Intelligent Precision - Advanced Manufacturing, to produce a binder jet 3D printer and an accompanying educational suite of materials for use at a two-day boot camp at the Carnegie Science Center. Utilizing existing open source projects, the varying skill sets of our team, and the requirements and specifications set by Dr. Zhao, we were able to produce a strong design for the binder jet printer. This design utilized acrylic to make the printer engaging for students and used an ink jet print head to increase the print speed of the printer.
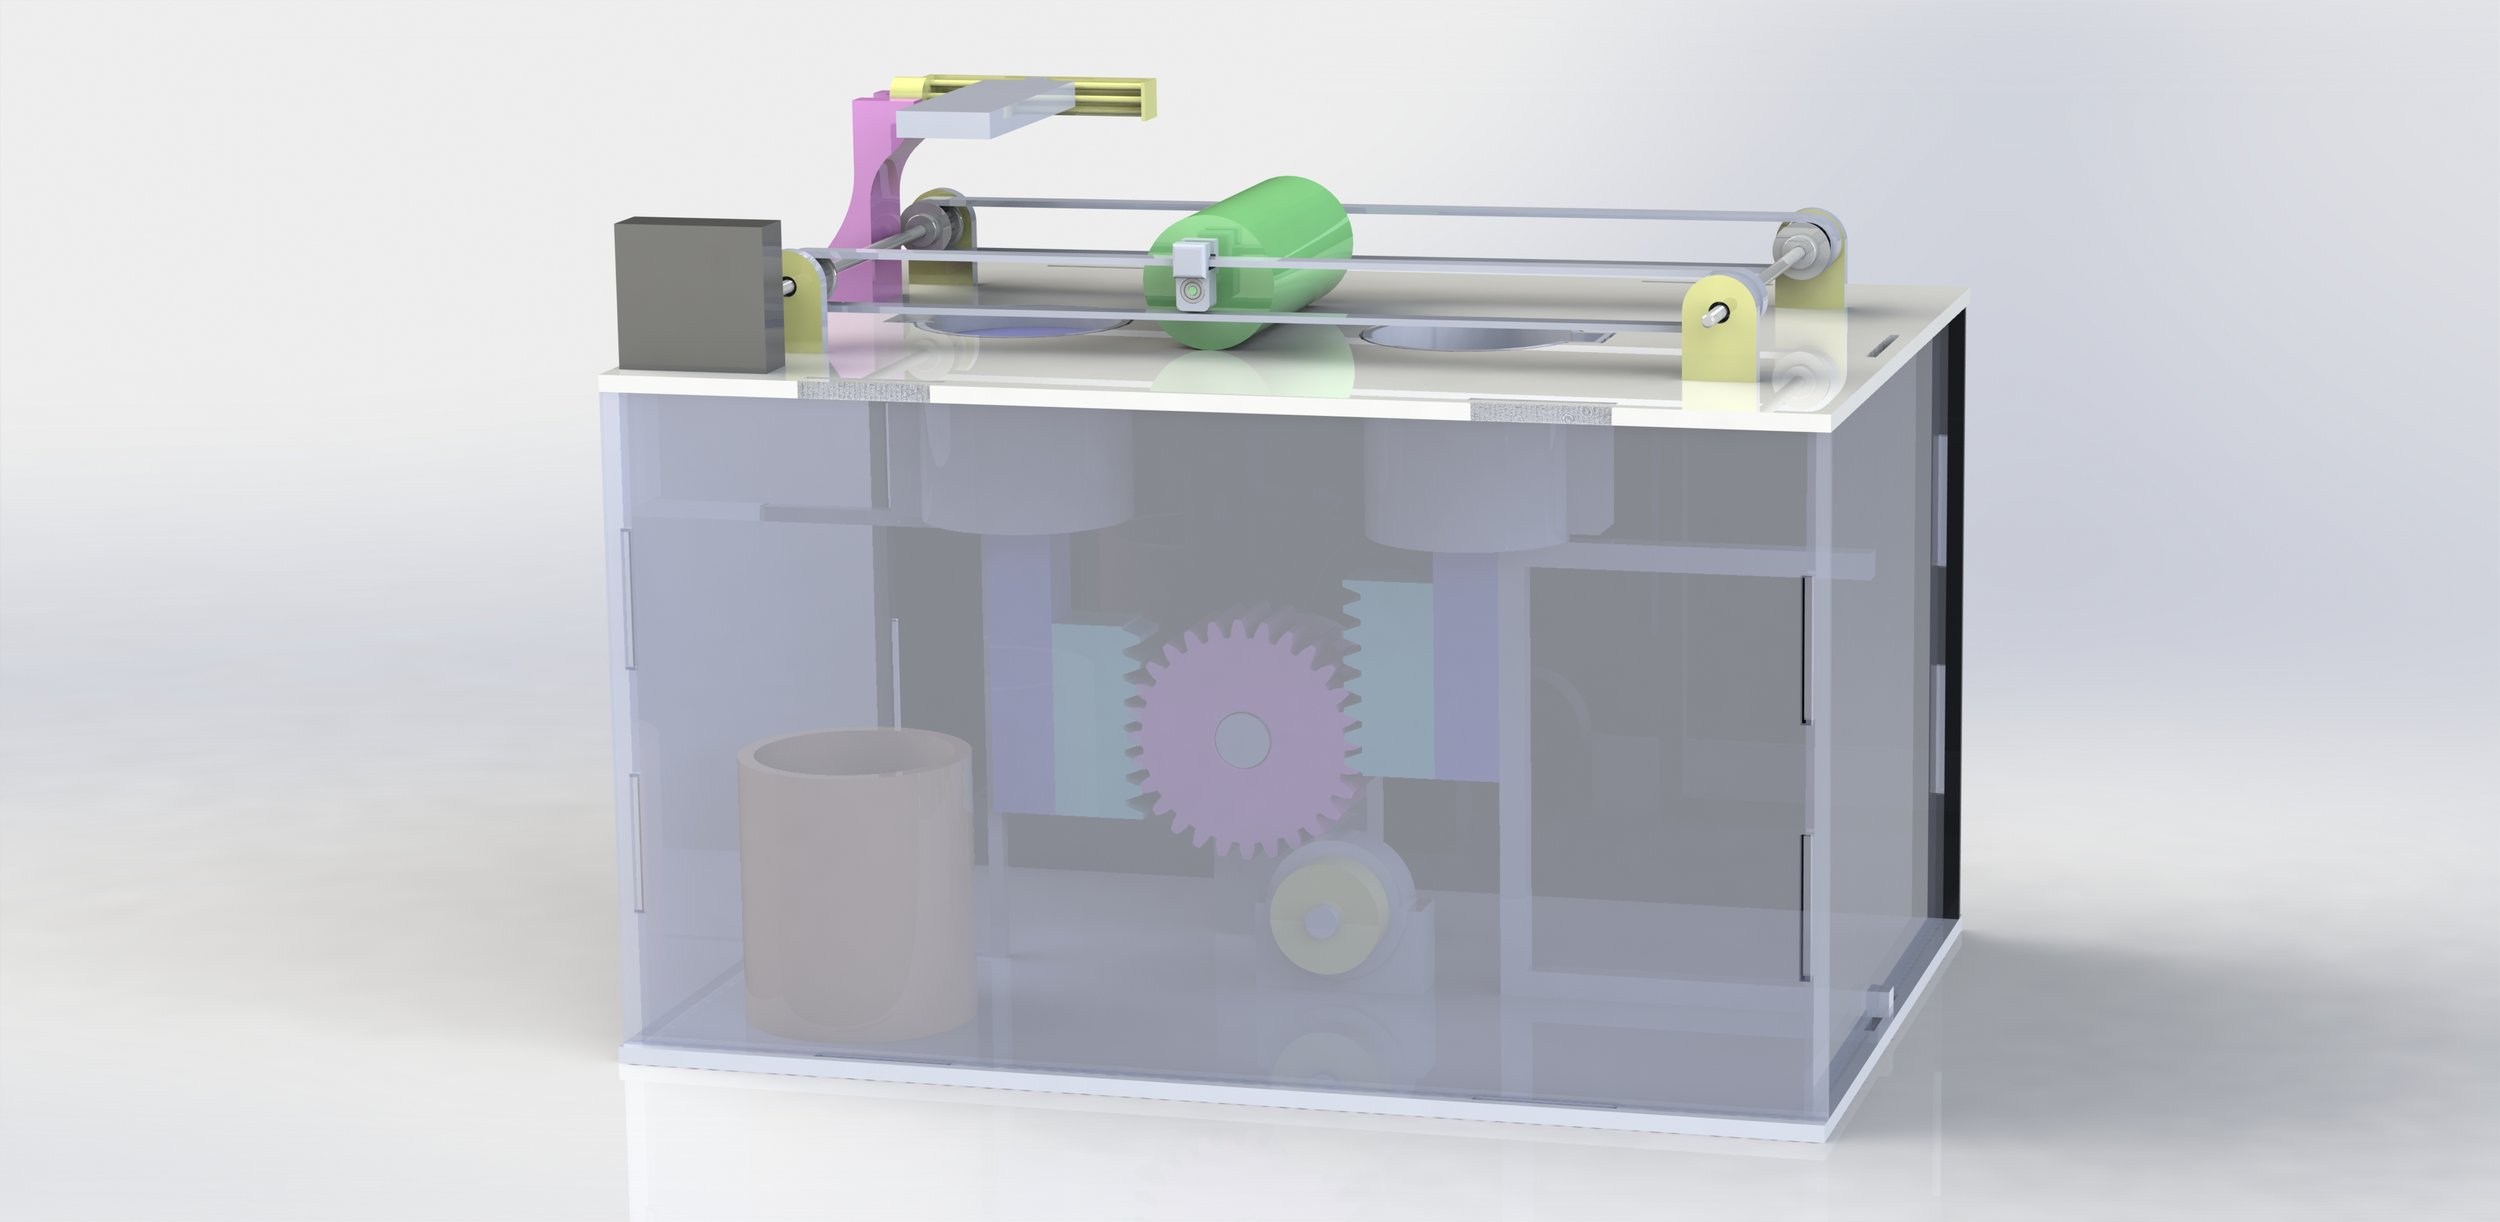
A Demo Binder Jet Printer for K-5 Students
The design to the right is our SolidWorks model for the demo binder jet printer. It features the three key subsystems of the full scale binder jet printer which correspond to the 3 essential steps of binder jet printing; Powder Deposition, Powder Distribution, and Binder Deposition. The main difference between this printer and the full scale printer is that it does not produce parts but rather simple layers. Its main goal is to teach young students the 3 essential steps of binder jet printing. Each subsystem is actuated at the push of a color coordinated button. The process of the system can be seen in the flow chart below.
Pushing the green button sends a signal to the Arduino Nano. Using a motor driver or h bridge, a stepper motor turns and causes the rack and pinion system to move, shifting the powder piston and build plate piston. Next, the user would push the yellow button and begin the powder distribution process. The Arduino Nano is activated and, again, a driver motor controls the stepper motor and moves the roller across the top plate of the printer. This brings the powder from the powder piston to the build plate piston, allowing a new layer to be printed. Finally, the blue button is pressed and binder deposition occurs. The Arduino Nano and motor driver are used to control a power screw and pump. The power screw moves linearly, allowing for deposition of binder across the length of the build plate.

Powder Distribution
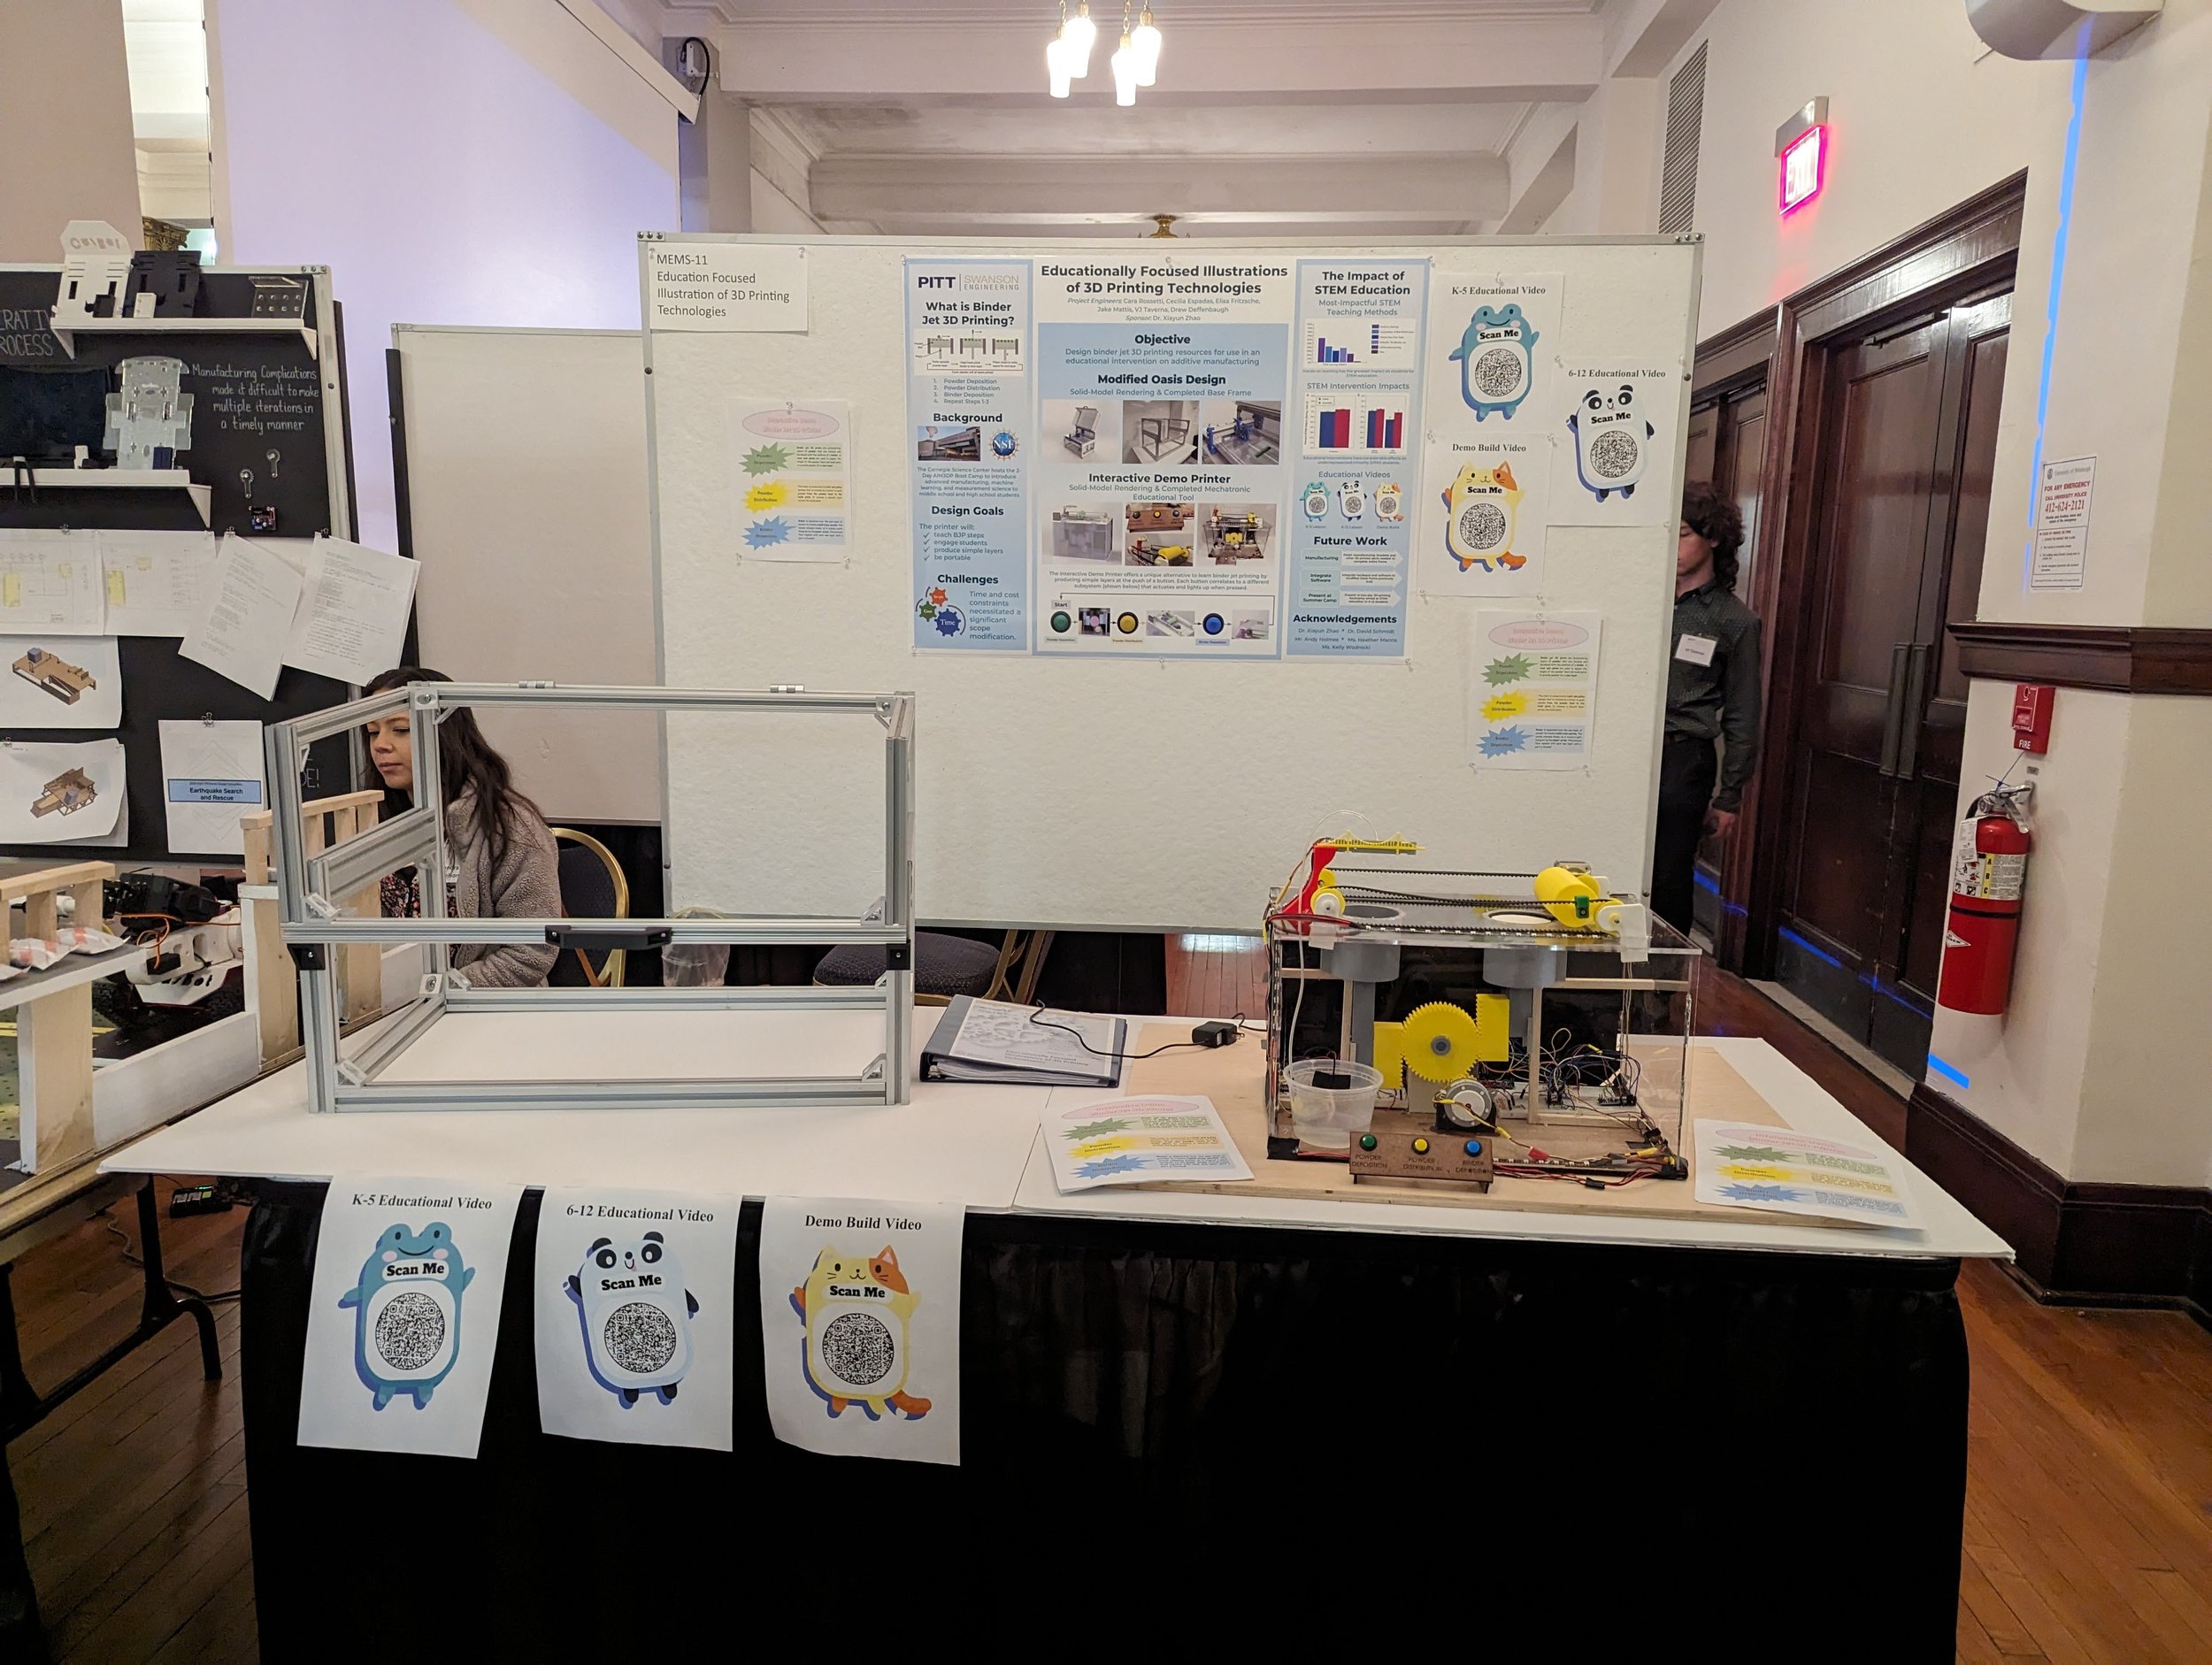
Educational Suite of Materials
An educational suite of materials was an essential part of our project. We wanted to create a video that explains binder jet printing to students in addition to a video that details our build process. The video on the left is an educational video targeted at middle school and high school students, explaining the binder jet printing process. In addition to this, we created a video using simpler jargon for young students. The video on the right details our build process. We wanted to create a video that demystifies additive manufacturing and inspires students to explore the STEM field and emphasize that anyone can make anything.